Chris Padilla/Blog
My passion project! Posts spanning music, art, software, books, and more. Equal parts journal, sketchbook, mixtape, dev diary, and commonplace book.
- You could be finding the canonical source for documentation in a language.
- You could go down any number of small rabbit holes learning about the intricacies of a language. Say, for example, when to use the
thiskeyword in C#. - Maybe you're like me and you're also getting used to another IDE / Text Editor. In my case, I'm using Visual Studio to learn C# instead of VS Code.
- I grew up with an artist in the family
- My favorite stories are told through pictures
- Drawing as a medium has one of the widest spectrums for style
- Drawing, as a whole, has personal creativity baked in more so than music
- Leading with Curiosity
- Creation driving learning
- Expanding dreams
- It's a compiled language. SO there are some errors that are caught at compile time, like undeclared variables.
- Intelisense is strong here. Typing values right out the gate makes that all the easier.
- Self documentation is pretty wicked in Visual Studio. Opening up the Assembly Browser gives you access to ALL the properties and methods for objects and classes that are used in your project.
- Enums! From the TypeScript docs: "Enums are one of the few features TypeScript has which is not a type-level extension of JavaScript."
- Interfaces and Generic Types also are a borrowed C# concept!
- If you need a method that can access the data directly on an instance? Store the method with the instance.
- If need something that converts data from an instance, or is largely utilitarian in function, a static method could be a good option.
- All things are acquirable, including blogs and podcasts
- There are genres of games I grew up playing that have fallen from the limelight into niche-status. Platformers comes to mind.
- Though, Point and Click Adventure Games have hit me really hard lately. LucasArts closed in 2021. Humongous Entertainment, maybe a juvenile example, but one from my childhood, had a short 15 year run before closing due to both hand drawing animation becoming to expensive and their target age range of young kids growing up quicker, wanting to move on to games marketed for older kids.
- On the topic of 2D Animation: Austin Kleon wrote in response to the Oral History of Lilo & Stitch. Kleon writes about how you know it's good when you have to ask "how did this even get made??" and Lilo & Stitch was one of those for Disney. The Florida studio that developed it, though, was closed only a year after, and marked the major shift for Disney away from 2D animation.
- Austin, Texas.
- Man, even the climbing gym I go to was just acquired!
Learning Syntax the Fun Way with Toy Problems
Yes, you could go through tutorials and just type along with the video. Yes you could read documentation.
Most of us get into programming, though, because we like solving puzzles. It's not the only reason, but programmers are just those sort of folks that have an itch that's only scratched by seeing a destination and writing their way to it.
Say I'm prompted to write a method that converts a string into Pascal Case. Sure, I know how to do that in JavaScript! Heck, I can even do it in one line like a COOL PERSON:
string.split(' ').map(x => x.charAt(0).toUpperCase() + x.slice(1).toLowerCase())The fun part is knowing how to get that solution and discovering the C# way to do it.
static void ConvertToPascalCase()
{

    Console.WriteLine("Enter a few words seaerated by spaces:");
    string inputValue = Console.ReadLine();
    string[] inputWords = inputValue.Split(' ');
    string[] processedWords = new string[inputWords.Count()];
    for (int i = 0; i < inputWords.Count(); i++)
    {
        string word = inputWords[i];
        string res1 = word.Substring(0, 1).ToUpper();
        string res2 = word.Substring(1).ToLower();
        processedWords[i] = res1 + res2;
    }

    string pascalCaseRes = String.Join("", processedWords);

    Console.WriteLine(pascalCaseRes);

}
There's a double whammy here: You get to practice programatic thinking, and you get to learn the nuances of syntactical differences in another language.
Plenty of ways to make it a triple whammy, too!
If it's been a while for you, I'd recommend diving in and giving it a try! I think you'll be surprised by how much you enjoy it.
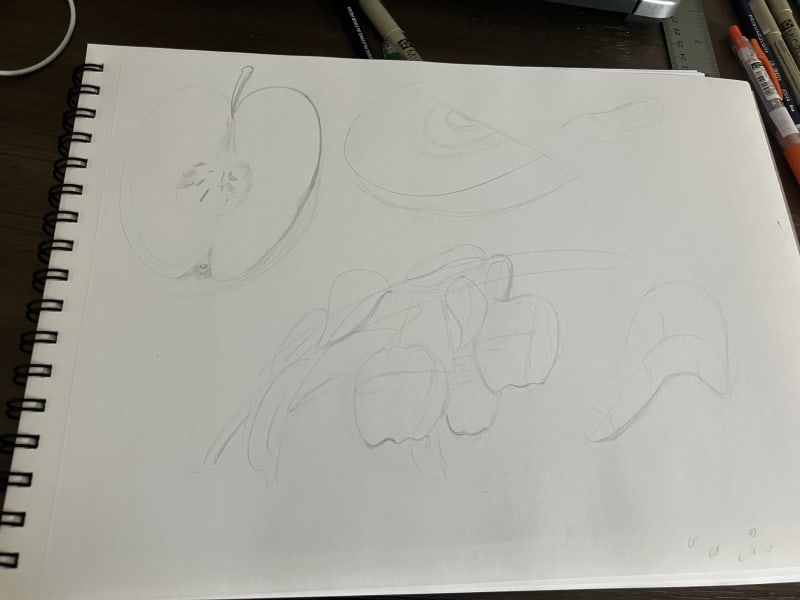
Apples
Mmmh, Apples! 🍎
Faber - Energico!
Faaaaast fingers ⚡️
We're All Just Making Folk Music
My training is primarily in Classical Music, a high and sophisticated art form. 🎩
There's immeasurable value in it, just like classical literature and the impressionist paintings of Cézanne. It's art that transcends the dizzying pace of change.
These days, though, I love folk music.
I think a lot of what's being made today falls into that category, even beyond music: Blog posts, podcasts, videos, illustrations, games...
It's not really the latest and greatest, or the most sophisticated that's exciting. Most nights, I just want to lay back and hear someone preach the truth to me.
Rebecca Solnit, by way of discovery for me by Austin Kleon:
Adults, like children, love hearing the great stories more than once, and most religions have prayers and narratives, hymns and songs that are seen as wells of meaning that never run dry. You can go lay down your sword and shield by the riverside one more time; there are always more ways to say how once you were blind and now can see.
High art typically has an emphasis on correctness, style, and form. Precision and training are required.
What makes folk music really good is that the bar for entry is lower. It doesn't take much to start a blog. Nowadays, you can grab your computer mic or camera and start talking on your opinions, sharing your own twist on something you read today, or a conversation you had.
On top of that, it's much more communal in that way. There's more room for personal expression when the form is simple. But a shared story or theme ties the choir together. No need to chose between joining in or expressing authentically, there's space for both.
If you have a way of sharing online, you have a way of making your own folk music. If you have a guitar and know three chords, you can start singing along.
Nurturing Curiosity
There are a few why's behind my recent drawing habit. Here are a few:
Each of those points deserve a post for another day!
One of my biggest drivers, though:
I draw for my kids
I don't have any yet! Miranda and I haven't even tied the knot yet. But that is what's in mind as I'm exploring a new medium.
I'm aiming to embody a few things:
A tall order for just messing around with a pencil. It's goofy, it's silly, I don't have chops, and it's one of the most important things I do everyday - along with music, software, and even blogging!
While I love arts and music education, it can fall short in these areas. Teaching to a curriculum squashes curiosity. Personal creation is an afterthought in band classrooms. And, by trading personal creativity and curiosity for curriculum, personal dreams are tossed.
That's not the case with all programs. But, as a parent, there's no one better to model the things that I believe are most important in art and music than, well, the parents.
Leading with Curiosity
We're hard wired to be curious about the world we live in. There's wonder and awe around every corner.
How often, though, are we limited by identity, fear of wasting time, or are simply too distracted?
Drawing was one of those things for me. "I can never do that!," "I'm a musician, not an artist," and "I won't ever be any good" were all limiting stories. But I loved it all the same and wanted to explore that love.
Maybe my kids won't feel the same about drawing. (Kids, generally, don't have that baggage.) As they continue to grow, though, I want to be someone who can firmly model following a thread of curiosity, even at the risk of looking amateur.
Creation Driving Learning
We're also all naturally creative. If you've ever uttered the phrase "I don't have a creative bone in my body," you're probably only thinking of a limited spectrum of creativity. Sure, drawing a picture is creative. But so is software. And so is marketing. And so is teaching. And so are spreadsheets. So is cooking.
We've all got it! It can be easy to shy away from it in new territory, though! The same limiting stories from above come in and can discourage.
One of the biggest lessons I've learned through drawing, piano, guitar, and writing music is this: You don't have to be good for it to be enjoyable. Being some level of competent helps with flow. But, before that, the process of gaining new skills easily replaces the pleasure of being in flow! My favorite sessions playing piano have been those where I'm absolutely stumbling through a new tune, but I'm getting to explore new chords, melodies, and the configuration of my hands at the keys. I'm reminding myself that every time I draw, and want that to be a driver in what ever my kids get hooked on.
Maybe you're worried about friends and colleagues seeing what you make and embarrassing yourself. Wonderful news - the people that actually matter, typically, are more concerned with the spirit rather than the form. A loose drawing of a friend is probably more endearing than a commissioned oil painting, because it captures the spirit of the maker.
With my kiddos, I want them to feel confident in their ability to bring something new into the world, even if it's with tools they're not as familiar with.
Expanding Dreams
Like I said — maybe my kids will think drawing is for lame Dads. But that's not the point in the long term.
At some point as we grow up, dreams of becoming astronauts evaporate into realistic plans of becoming an english teacher. In some ways, that's all fine and well. Rubber has to meet the road at some point.
Art, music, storytelling, acting - pretty much any creative craft, though, brings dreams to reality right away at a young age. My 7 year old son may not be able to practice being an astronaut at that age, but if he loves drawing, he can practice art and grow up learning to be a real artist with real craft.
That early seed of making a dream real sets the stage for a lifetime of confidence in their own ability to do just that with even more vision.
Once a given dream is realized, then there's what's next. Probably you've been fortunate enough to experience that - "I finally got my dream job!! ...now what? Is this it?"
No, I may not raise the next Aaron Blaise, but that's not at all the point. What ever it is, if I can be a model and help my children pursue and realize their dreams at a young age, that's a gift that will compound over their lives. Because their dreams will grow. "Being a cartoonist" evolves into "being an art teacher" evolves into "working in fundraising" evolves into "creating an arts education non-profit that serves their local community" - or any number of alternate paths.
By modeling that in my own life - by allowing even my tiniest seeds of my personal dreams to draw, to play instruments, make music, develop software, write essays, and serve people - I stand in a good position to help nurture what ever that looks like in the lives of my children.
TypeScript is Secretly Just C#
TypeScript is MOSTLY just a way of bringing C# methodology to building applications in JavaScript.
Call me Captain Obvious! They are both Microsoft products.
But I've been learning C# and the similarities have been interesting!
Here are the things that are really nice about working in C# so far:
The only exception might be that C# is a classic object oriented programming language where JavaScript and TypeScript mostly fake that part, being much more dynamic. Arguably, though, some of the tooling already gets you pretty close — component based frameworks, for example.
The "TypeScript is just JavaScript" sentiment has strangely made TypeScript difficult to learn for me. Similar to Node vs ES6 — the fact that they're so similar makes it difficult to remember that your brain needs to work in a different paradigm. It helps when I'm learning about Types in a language that is strongly typed from the get-go.
So I'll say this much: learning C# has been a really fun way to also learn TypeScript.
Static Methods
In class driven languages like, say, C# — a way of storing utility methods is through a Static Method.
Say you're working in JavaScript. A great ol' example of this is the Object.keys() method.
Objects is the constructor. keys the static method.
(technically not a class since JavaScript only mimics classes. More details on that in You Don't Know JS by Kyle Simpson and contributors.)
In JavaScript, you can access the method on the constructor through dot notation. But when creating an object, that object doesn't have a keys method.
const pizzaData = new Object();

Object.keys(pizzaData) // √

pizzaData.keys // X
The benefits?
Largely memory and data size. Not every object needs to recreate the method for each instance. We really only need one source of truth for a utility method like this.
Not all that different from abstracting a handler in React components. Does each input component need to have its own onChange method instantiated with the component? Or can the same method be passed down from a parent prop.
So a pattern for working with static methods could be:
Transience
I'm thinking lots on the transient nature of things.
Especially in art, software, and entertainment, but y'know, everything is changing all the time.
My recent pieces of evidence:
Maybe it has to do with my age. Large slices in the pie chart of my life have been pretty consistent and sturdy. Same group of friends k-12. Same colleagues in college. Even in teaching music, working with the same folks. It helps that my medium — teaching classical music — was a backwards looking genre. There were discoveries to be made, but they weren't the "ground moving underneath you" kind of discoveries.
Maybe it's the technological era. 300 MB on a CD ROM was a lot back in the day. Software was shipped on floppy disks 25 years ago. Now GitHub can help me write my unit tests.
Lots of feelings to be felt here:
It's cool! New stuff all the time!
Or...
It's a bummer! They don't make it like they used to!
I'm somewhere in the middle. Mostly, I'm becoming more aware of how important creative work is as a response to shifting sands.
In grad school, I read Making Your Life As An Artist by Andrew Simonet. Lots of great practical advice, though the opening of the book has a beautiful explanation of why all art making is important:
With food, there have long ben seed savers and farmers who reject the standardization of our diet. They grow things that don't fit with industrial agriculture. They preserve the seends for plants we may need someday.
This is what artists do culturally. We provide the wide spectrum nutrition that the soul needs and the Entertainment Industry ignores. We save cultural seeds, the DNA of ideas and ways of seeing that we may need tomorrow.
Or in 20 years.
Or 2,000 years.
Sometimes it looks like blogging.
Sometimes it's playing the sax.
The nice thing is it's not just high art that's worth preserving, so is the folk music.
All the same, when making something that comes from a place of authentic curiosity and fascination, it's a way of casting a vote for the staying power of that idea.
You bring your own intersections of the different moving cultural pieces, and we get a double wammy - preserving meaningful culture and creating something new in the process.
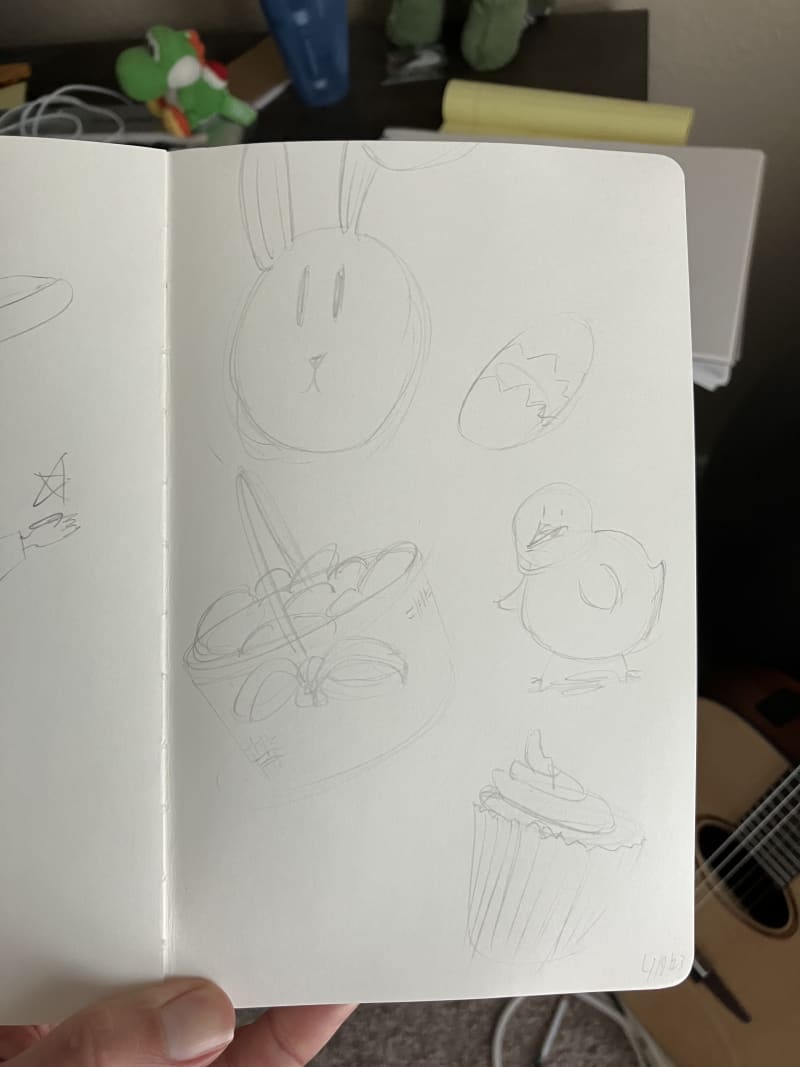
Late Easter Sketches
A little late, but here are some quick little easter sketches!
Barre Chord Improv
Been LOVING this new instrument!
Creative Legacy
Doing creative work gets pitched as this "Exertion of the ego" or "One bold director's vision." Iwata himself said "Creativity, after all, is an expression of the ego."
Allow me to be over 30 and bust out the phrase "But, the older I get...":
The older I get, the more I feel inspired by being tied to a lineage. The more it feels ennobling to be a part of a larger legacy of craft, expression, and plane ol' messing around.
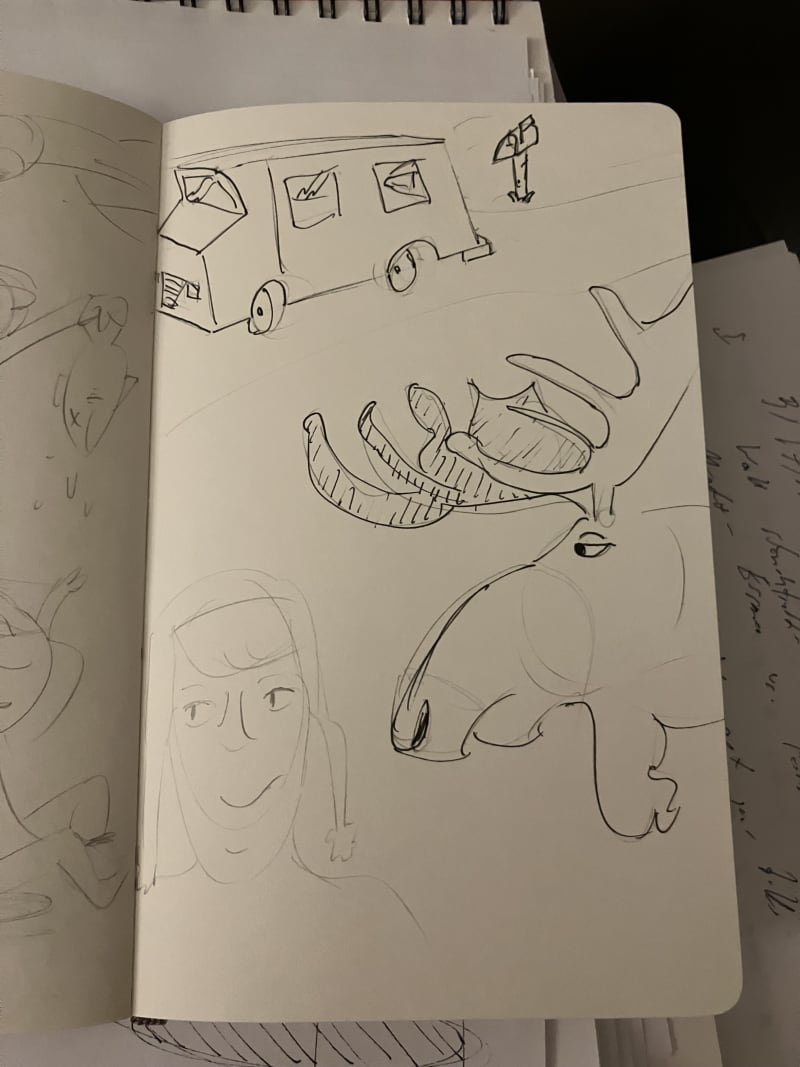
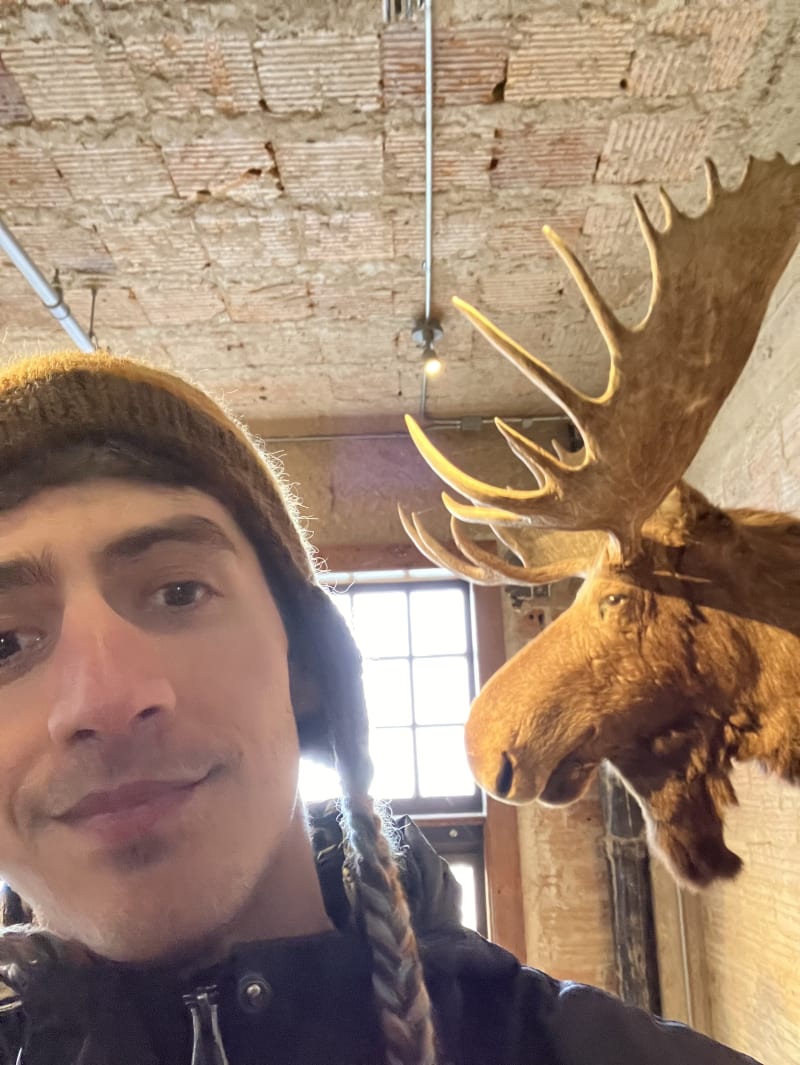
It happens anytime I go to an art museum... like this weekend! We're all moved by an artists' ability to draw expressive strokes on a page, paint a bowl, or carve figurines.
Take that in any creative dimension you want. I have a few more:
Every time I sit down to code, I feel my spirit jumping down into the trenches with many folks I admire. Those spirits that developed video games in the 80s and 90s in Japan, or those developers who programmed the websites I visited as a kid. Or my favorite: my dad — who was always tinkering with custom built PC's while I was growing up.
As a musician, well, there are multiple!! I sat with Bach and Yo-yo Ma while learning the first cello suite on bari sax. (An offensive idea to some, I'm sure, but wildly fun for me!) When I play piano, a range of jazz musicians, classical pianists, and composers sit at the bench next to me.
Lately, my favorite is thinking of Walt Stanchfield, who would "spend an inordinate amount of time at the piano" only to go on and sketch tirelessly. A very personal fit for me, who also is spending his days sketching and banging at the keyboard.
On a grander scale, all of that connects us with generations spanning humanity of people who added flare to simple items and decorated their time with song.
Here's W. A. Matheau's essay on originality:
...You realize that what is "original" essentially rearranges the familiar: the same ancient notes and gestures done over again in meaningful new ways. You realize that only the fingerprints are yours, and that this was true for Beethoven and his fingerprints, and Bird and his. You see how everyone is on the same pilgrimage, and how there is no racing on such a road as this. You desire on thing only: To be a conscientious traveler.
Phew! What a relief! No need to be original. Just authentic. Instead, we're all unique intersections of influences.
While that leads to different sensitivities and different eyes for beauty, we're all united in one way or another to our lineages. And we are continuing the conversation for generations by contributing in the first place.
My voice may not be entirely unique. Instead, I think it's more noble to be the vessel through which so many traditions and eyes for beauty in the world continue on. In that way, we all live on.
New Album — Forest 🌳
An adventure into the wooded grove 🌲🍃
Playing with a few sounds from Ocarina of Time and Chrono Trigger!
Purchase on 🤘 Bandcamp and Listen on 🙉 Spotify or any of your favorite streaming services!
How C# Compiles
I'm taking time to dig into a more enterprise level language. For me, it's a good opportunity to learn from technology that was built to scale so that my work in other languages can be informed by that long term scalability.
Here are some concepts that are important to know before diving into the language:
Compiling
Major C family languages C and C++ are also compiled, but they compile directly to machine code. So there's a limit to what machines the programs can be run on — compiling to windows means no linux support.
C# is compiled, but instead of compiling to machine code, it's brought down to IL code (Intermediate Language.) This actually borrows from Java, famous for the tagline "write once, run anywhere!"
The IL code can then be run on any machine with a the Common Language Runtime (CLR) installed. The CLR will take the IL code and compile it to machine code from there. For C#, the CLR is part of the .NET framework, so any apps developed through .NET have this same flexibility of running on multiple platforms.
JavaScript in the browser is actually an interpreted language. The code is given to browser that take the instructions and executes at runtime.1 Node would be a closer comparison since its compiled. It's passed through the V8 engine which compiles Node code to machine code.
Practice or Play
I hear variations on this quote every now and then. Here's Scott Adam's version of it:
"Practice involves putting your consciousness in suspended animation. Practicing is not living."1
A jarring idea for someone who spends time doing what looks like "practice" on first glance. It goes for all domains — software, music, art, writing, or otherwise.
I thought about my time in school and think about how, largely, your time is spent "practicing" for adulthood. Why did that feel different? Why was there nothing but abundance and joy during that time?
One of my favorite essays from Julia Cameron's "The Artist's Way" has an answer:
“It must take so much discipline to be an artist,” we are often told by well-meaning people who are not artists but wish they were. What a temptation. What a seduction. They’re inviting us to preen before an admiring audience, to act out the image that is so heroic and Spartan—and false...
True, our artist may rise at dawn to greet the typewriter or easel in the morning stillness. But this event has more to do with a child’s love of secret adventure than with ironclad discipline. What other people may view as discipline is actually a play date that we make with our artist child: “I’ll meet you at 6:00 A.M. and we’ll goof around with that script, painting, sculpture …”
Largely when we're kids, we're playing. Kids aren't overly concerned about their futures or the results of where their work will get them. It's just for the joy of exploration and taking on an interesting challenge!
Matt also has a great antidote to this in Form & Essence — it's the difference between doing and being. Are you aiming to get tasks done? Reach a certain destination? Or are you simply being a musician, being an engineer, being an artist.
The difference between practicing and living is the posture. Are you overly worried about results and reaching a continually elusive future, or are you playing?
Julia Cameron again:
Remember that art is process. The process is supposed to be fun. For our purposes, “the journey is always the only arrival” may be interpreted to mean that our creative work is actually our creativity itself at play in the field of time. At the heart of this play is the mystery of joy.
Barley and Board
Barley and Board in Denton is pretty yummy, y'all!