Chris Padilla/Blog
My passion project! Posts spanning music, art, software, books, and more. Equal parts journal, sketchbook, mixtape, dev diary, and commonplace book.
- JavaScript leaning heavily towards functional programming
- Java towards Object Oriented Programming
- Python sitting in the middle with great support for both paradigms
- Traces: Path of a request through your app. Think multiple lambda functions. Broken up into individual spans
- Metrics: Measurement captured at runtime. Anything you'd like to quantify.
- Logs: What you emit from your logger. Can be tied to a trace.
- Instrumented App: Your code wrapped in an SDK to create traces, metrics, and logs.
- Exporter: Responsible for sending your data to the collector. Can exist within your application.
- Collector: Can receive and send Open Telemetry data. This is where you will point your application to.
- Back End: Your vendor or self hosted solution specific service for storing and rendering your data.
- A succinct way to export the state.
- A way to load the state from the db and re-instantiate my
ProcessStateclass
Punk Solo Snippet
Recording continues! A really short snippet this time — because it took all week to get this lick up to speed. 😂
Bindweed Field

More scenes from our twilight walks at home.
Staying In the Ring
I spent a decade in creativity with clear goals and a seemingly direct path for success. Get the degrees, play with the right people, practice the right things, serve other people along the way, and a fulfilling career in music awaits on the other side!
Now, though, there is no clear path. There's no career to pursue, no obvious prize to chase, and there aren't all encompassing models for the things I want to make.
While I learned a great deal from this more success driven phase of my life, met wonderful people, and grew plenty as a person, I'm now looking ahead at new terrain.
What do you do when that script runs out? What do you do when you reach the end of where that map leads?
. . .
Earlier this week Miranda and I watched Rocky, both our first time seeing the classic film.
A hobbyist boxer with natural talent, the film finds him continually training and taking on small fights. A once-in-a-lifetime opportunity comes with a chance to fight for the championship against Apollo Creed.
To jump to the most striking moment in the film for me: Rocky finds himself nervous the night before the fight. He doesn't know that he can win. But, he commits to "going the distance," to staying in the ring through all 15 rounds. The refs ultimately call Apollo the winner, but only after 15 tough rounds, Rocky is still standing at the end.
These days, that's where I find myself creatively.
I've had to relearn enjoying the practice for its own sake. After spending time with contests to perform in and hoops to jump through, it's easy to get caught up thinking there's something the work needs to "win" with.
Anytime I find myself using the old map for my practice, a sense of defeat comes in and motivation is zapped. Without knowing it, a sublte voice has been asking "What is this going to get me?" And it's been the wrong question.
The better question: "How can I keep doing this for as long as possible?" "This" being any medium and practice that sparks imagination and stirs something deep within. At present: music, art, writing, and software.
With Rocky, the better aim is staying in the ring. How can we roll with the punches, get back up when we're down, and continue engaging round after round?
Later films, naturally, follow a journey where Rocky does eventually win it all. While it's a satisfying story when the conclusion puts our hero on top, with all of the accolades and success in the world, I can't help but think the first movie in isolation has a more meaningful message. Regardless of the outcome, victory comes from staying in until the end.
Electric Intro
Working on recording something new! 🎶
Winter Tunnel
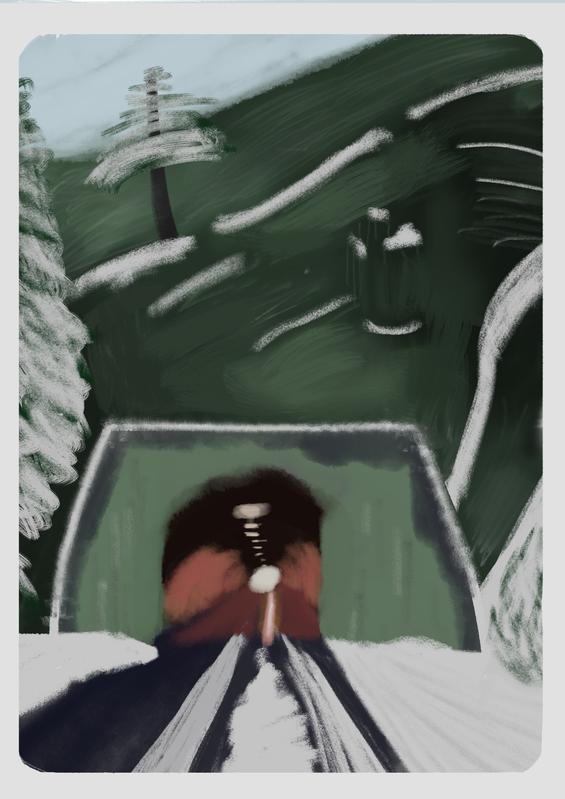
Dreaming of colder weather. ⛄️
Functional vs. Object Oriented Programming
I've been between projects in Python, Java, and JavaScript. Aside from the syntax differences, I've been pausing to wonder why the context switch takes time.
The answer has to do largely with the programming paradigm these languages tackle programming challenges.
There's a spectrum here between Functional Programming and Object Oriented Programming. While all three can manage both paradigms in this day and age, their communities favor being on different poiints along the spectrum:
If you've started in web development, more than likely functional programming is very familiar. So here I'll explore how to make the switch in thinking in an OOP way coming from that perspective.
Functional Programming
At the risk of stating the obvious: FP is built around functions. These individual functions are not tied to an object. They take inputs, process those inputs, and return a result.
const add_then_multiply = (a, b, c) => {
    let res = a;
    res += b;
    res *= c;
    return res;
}
What my silly example demonstrates is how a function takes in a handful of arguments, calculates through them, and returns the result. Side effects are possible, but not desirable. This paradigm fits nicely with unit testing and TDD because it's simple to test. If I put in 1, 2, 3, I expect to get 9.
JavaScript takes this a step further by treating functions as first class citizens. A function can be passed into another function (referred to as a callback) and then call that function within its own procedural process.
To oversimplify the pros — we are namely looking at a process that thrives on specific calculations and processes. This can lend short programs to be easy to read and unambiguous. When avoiding side effects, there's no confusion around what the program is doing.
Switching to Object Oriented Programming
Functions exist in OOP, but the major difference is that they are tied to data. I'll sum up my case right here: If you're looking to switch your thinking between the two, start thinking about how groups of data need to operate and can interact with each other. This is different from thinking of only the functionality that needs to occur.
In Python, say that I have a representation of a web page. I want to encapsulate the data and some functionality around it in a class:
class WebPage():
    def __init__(url: str, name: str):
        self.url = url
        self.name = name
        self.visits = 0

    def visit_url(self):
        # Open url

    def print_webpage_details(self):
        print(f'{self.name} at {self.url}')

    def add_visit(self):
        self.visits += 1
This simple example demonstrates the shift. Not only have I defined some functionality, but that functionality is primarily centered around manipulating and using the data that's present on the instance.
Imagine it multiplied by dozens of classes then. All with their own state and functionality.
In fact, if you've been writing React, you've likely already been thinking in a moderately OOP way! The execution is largely functional. Hooks are primarily event driven. But it's the encapsulation with state and methods that also blends a bit of OOP into the way React is written.
There's more complexity that can naturally be held this way. And the power comes from having some flexibility to employ both. A procedural script employing functional programming that leans on Objects to encapsulate large amounts of data and complexity is what most apps realistically employ. So it's not a matter of one or the other, but understanding what problem you're trying to solve and picking the right paradigm for the job.
Lucy Knows We'll Be Together Again...
My pup and I missed each other while I was in Chicago this week!
Turquoise Sky

🌘 🦊
Cussedness in Art
It's one thing to do work in spite of nay-sayers and critics. It's another, greater challenge to continue on in a direction different from where the admirers and allure of "success" draws you.
Tim Kreider exploring the stubborn nature of painters De Chirico and Derain:
What I can’t help but admire about them is their indifference to critics and admirers alike, their untouchable self-assurance in their own idiosyncratic instincts and judgment. I admire their doggedly following their own paths, even if I’m not as interested in where they led. I admire their cussedness. It’s a value-neutral quality in itself, cussedness, amoral and inæsthetic, and not one you can really emulate, anyway—it would be like trying to imitate originality. But such artists’ careers demonstrate that it is at least possible to move through this world unswerved by its capricious granting or withholding of approval. They’re examples, good or bad, to their fellow artists as we all feel our blind, groping way forward—or, sometimes, back—through the dark of creation.
Kreider's closing metaphor on moving through "The dark of creation" is something that the richest creation requires returning to time and time again.
(Found while digging deeper on the always fantastic weekly newsletter by Austin Kleon, this week on writing.)
Application Monitoring with Open Telemetry
I've been spending time diving into instrumenting our serverless apps with Open Telemetry.
The situation: We've previously used a custom logging solution to monitor a few cron jobs. It's worked well for a time. As we scale, though, we've started looking for another solution.
An issue with most off-the-shelf monitoring services is the amount of vendor lock in you set yourself up for. Thus, the Open Telemetry protocol came about.
The gist is that it's a standardized way your application can emit:
These data points are then sent from the application to a collector that can send these to your backend of choice. Many vendors have supporting libraries, including big players like Data Dog and New Relic.
Concepts
There are a few concepts to understand before getting started. You'll likely be setting up several services to instrument your application.
The pieces are:
Instrumenting The App
The fastest way to get started is with a zero code instrumentation. There are slick ways for the Open Telemetry (OTel) SDK's to integrate with a web server like Flask.
For an application without a framework, though, there's a bit of manual work to do:
The official OTel docs outline the packages to import. You'll have to choose between gRPC or http protocol as your means of exporting. (Though, it seems the gRPC implementation is mostly a dressed up HTTPS protocol.)
Once you have it setup, emitting traces is straightforward:
with tracer.start_as_current_span(fn.__name__, links=links) as span:
    span.add_event(f"{fn.__name__}() started")

    # Do work

    span.add_event(f"{fn.__name__}() complete")
    return result
Setting Up the Collector
You could point your OTel config directly to your backend. Much of the benefit, though comes from using this in a distributed system. Here, a dedicated collector comes in handy.
If you're in an AWS environment, you can take advantage of the AWS Open Telemetry Collector. Setup here is primarily a bit of configuration.
My OTel project is still a work in progress, so that's all for now! I'll leave the nitty gritty for another post.
Raymond Hubbell – Poor Butterfly
🦋 Adding color with those chord extensions!
Jellyfish

Mathieu on Learning Pace
From "The Listening Book" by W.A. Mathieu. Full title of the essay says it all: There's Not Much to Learn and It Takes Forever
The truth is, a musician can spend a lifetime learning five notes and still not know everything in them. The more masterful you become, the deeper becomes the mystery and the more you are a beginner.
So when a student feels sluggish in learning a certain mode or cross rhythm, I have to say how there is hardly anything there to learn but that it takes more than one life.
... there is no ought-to-know-how, there is only the uncovering of ourselves when we sit at the polishing stone.
It was in my Masters, after 15 years of playing, that I started to think I was getting the hang of things. Only to find out 5 years later that there's much, much more to learn.
Copy and paste to your discipline of choice.
Passing State in Python with the Special Dictionary Attribute & the Classmethod decorator
I found myself in a situation where I had constructed a ProcessState class for storing the results of a cron job that runs on AWS. Passing the instance of ProcessState works just fine when it all happens in a single package. But then I needed to store the state in our database temporarily while the lambda kicks over to another procedure within a step function.
I needed two things:
Two built-in Python methods did the trick: the __dict__ Special Attribute and the @classmethod decorator.
Starting File
Here's ProcessState:
import logging
from logging import Logger
import datetime
from .types.unit_dict import UnitDict


class ProcessState:
    """
    Object for storing and formatting Process State
    """

    def __init__(
        self,
        result: list[UnitDict] = [],
        complete: bool = False,
        errors: list[str] = [],
    ):
        self.result = result
        self.complete = complete
        self.errors = errors
        self.logger = logging.getLogger("ProcessLogger")

    def __repr__(self):
        return f"ProcessState('{self.result}', {self.complete}, {self.errors}"

    # Methods for updating and formatting date here.
From the type hints, you'll see that we're dealing here with properties of basic types: lists and a boolean. I've also instantiated the class with a logger.
Exporting with the Dict Attribute
If I want to get all of those properties, I can simply call the __dict__ attribute directly:
ps = ProcessState()

# Update the state here.

# Get the dictionary
dict = ps.__dict__
If I'm only storing values I want to pass along, this works great!
The wrinkle comes with the logger. I'm not interested in passing that along outside of my application. But the result will include reference to the logger.
So I'll have to handle filtering it out with a few helper functions:
class ProcessState:
    """
    Object for storing and formatting Process State
    """

    ...

    def get_dict_from_state(self):
        result = {k: v for k, v in self.__dict__.items() if self._is_value_property(v)}
        result["created_at"] = datetime.datetime.now().isoformat()

        return result

    def _is_value_property(self, v):
        if isinstance(v, Logger):
            return False
        return True
I've also gone ahead and added a "created_at" property.
Now, calling ps.get_dict_from_state() would provide only the errors, complete state, and result. Excellent!
Loading a Dictionary Into Our Class
Say I pass the result off to my DB. I then query the db for those values again.
Looking at my __init__ method above, I could almost get away with passing in the dictionary as-is with a spread operator like so:
ps = ProcessState(**dict)However, my dict now includes a created_at property which I haven't included in the __init__ function!
If it were important to persist that field, I could add it to my init function. Or I could make use of an extra **kwargs at then end of my init signiture to catch any arguements not already defined.
BUT say that I also need to do some data massaging, such as instantiating another class within ProcessStates own initialization?
@classmethod is the answer.
I'll show how I'm using it, then how to construct it:
ps = ProcessState.from_dict(dict)very similar to calling the __init__ method, though we're not tied to one signature. In fact, we could have multiple @classmethods for different scenarios, lending more flexibility to our instance construction.
The simplest way to implement thiswould be to pass everything in:
class ProcessState:
    """
    Object for storing and formatting Process State
    """

    . . .

    @classmethod
    def from_dict(cls, values: dict) -> "CollectionState":
        return cls(**values)
However, as I mentioned, we have an unwanted attribute. Here I'll filter it out with list comprehension:
    @classmethod
    def from_dict(cls, values: dict) -> "CollectionState":
        filtered values = [x for x in values if x in ["errors", "results", "complete"]]
        return cls(**values)
With that, we're back up and running, ready to use ProcessState in our function!
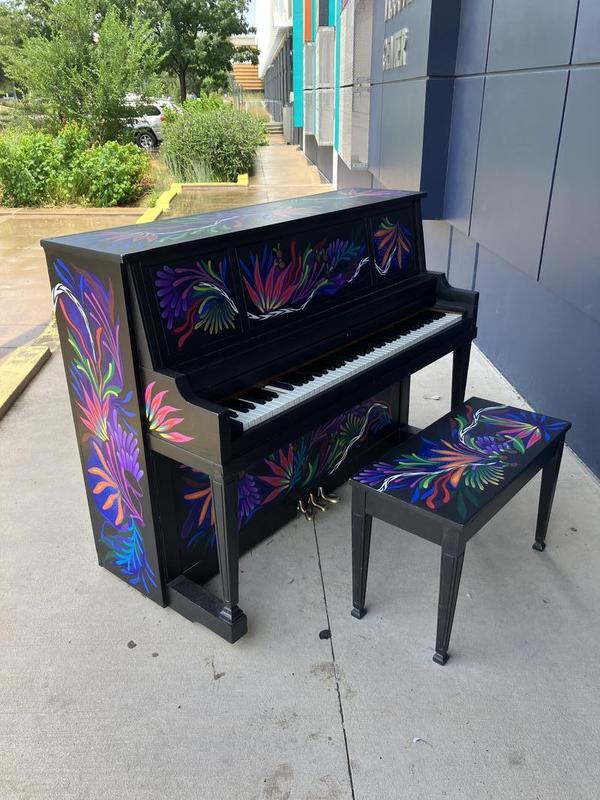
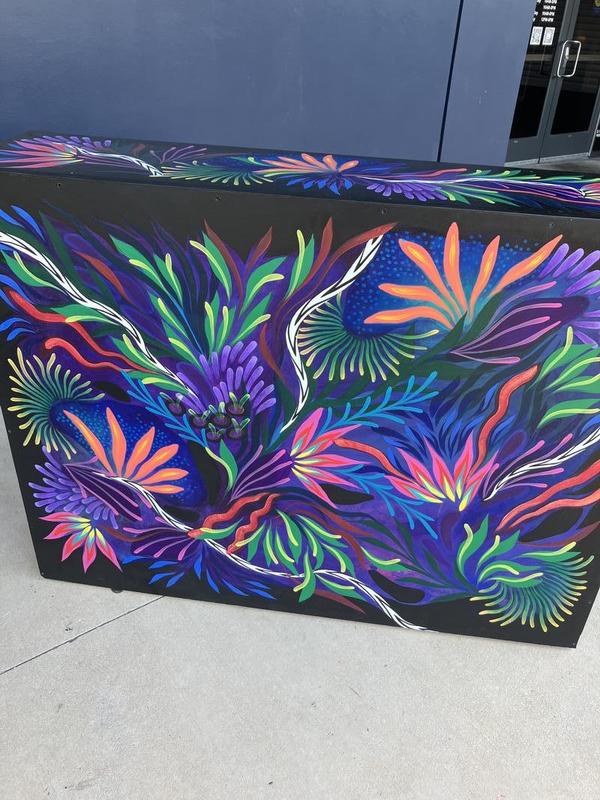
Carl Fischer – We'll Be Together Again
No tears, no fears. Remember, there's always tomorrow... ~
Had the pleasure of playing this beautiful piano just outside of the Frisco Discovery Center: